Monday, August 10, 2015

Star fish charms


Hello everyone!

I was beyond excited when I received my mail from www.bornprettystore.com this week. It had BLING in it! I missed wearing nail jewelry.

So today I will be showing you these adorable and very sparkly charms. They are sorta new and you can find them >here< for $3.61 on regular price. To me these are incredibly cheap since most charms they have come in pairs of 2. This one comes with 10! And the charms I chose are pretty big.


My choice was pattern 781. They feature a really nice setting of rhinestones and faux pearls with a star fish. It is perfect for summer (yes it's still summer) and they catch the sun like crazy. One of the bigger rhinestones in there has a gorgeous rainbow shine. The setting is made out of metal so they can be reused over and over again.


For my manicure I opted for a water like base color. I coated my nails with white polish and made a gradient with 3 different shades of blue. I stamped my nails with one of the wavy patterns from plate BP-23

For my accent nails I used a dark blue polish from Sally Hansen that I overlayed with 2 thin coats of Pure Ice- Strapless, one of my favorite blue glitters ever.


I set the charms on my accent nails using nail glue. Just a little goes a long way, since these charms are light. This is one of my favorite nail art designs  that I've wore this summer. I've had the charms on for 5 days and they did not fall off or move in any way. I am in love.


I have to mention that these star fish charms are not for 3D beginners. They are very 3D. If you're not used to wearing something that is raised a lot off your nail, you might want to try some of the other charms from the same collection.

I hope you liked my little star fish manicure and if you want them you can use the code below for a 10% discount and free shipping.


Disclaimer: This product was sent for review. All opinions about it are honest and my own.

Tuesday, August 4, 2015

3 stampers comparison and review


Hello everyone.!

I recently purchased the lot of 3 different stampers from www.bornprettystore.com . They're older stampers they had by themselves on the site, but I found the 3 of them for $4.99 on discount. The price was crazy good for BPS so why not? I Only owned 1 stamper anyway. You can find the lot >here< for $8.64 on regular price. They have sales on everything constantly so keep an eye for up to 50% off or even more.

From that lot, I owned the XXL squishy stamper. I thought it was amazing until now. And here is why.

These are the stampers in the lot, each came with their corresponding scrapers. I don't use those I prefer an old debit card for scraping.

I used the exact same plate for all of them and all 3 stampers have been cleaned with acetone and lightly buffed before use. All polishes used are special stamping polishes.


I'll try to stay honest so I'll start with the one that dissapointed me and that happened to be the one I've been using  for over a year now. The big squishy stamper you can find it >here< by itself. It picks up pretty good patterns with not a lot of details I haven't really used my plates with details because it won't show up or it will lose before transfer.


With this stamper I used 2 polishes because I thought it might just be the shimmer in the polish first time, even though it's special stamping polish and worked fine before. The lace barely shows up. I think after it gets used more it picks up a little better because the old one I have does, but I'm very dissapointed in myself that I didn't buy more stampers to try out before deciding on one.


Pros: Very big area. The stamper is well suited for long or wide nails.

Cons: Not the best in picking up very detailed patterns. It deforms some designs while applying them on the nail because it's very soft.


The second stamper it's the green square one that you can find >here<
I like it overall, the stamper picks up pretty well. I have yet to figure the proper way to turn it when applying the design on the nail but I'll just have to play with it a little more. I've seen a lot of people using it and coming out with great looking nails.


It's big enough for medium nails. Even if the area is big in length it's pretty narrow.

Pros: Picks up the patterns and it holds it pretty nice looking during transfer.

Cons: A little difficult to work with for newbies.


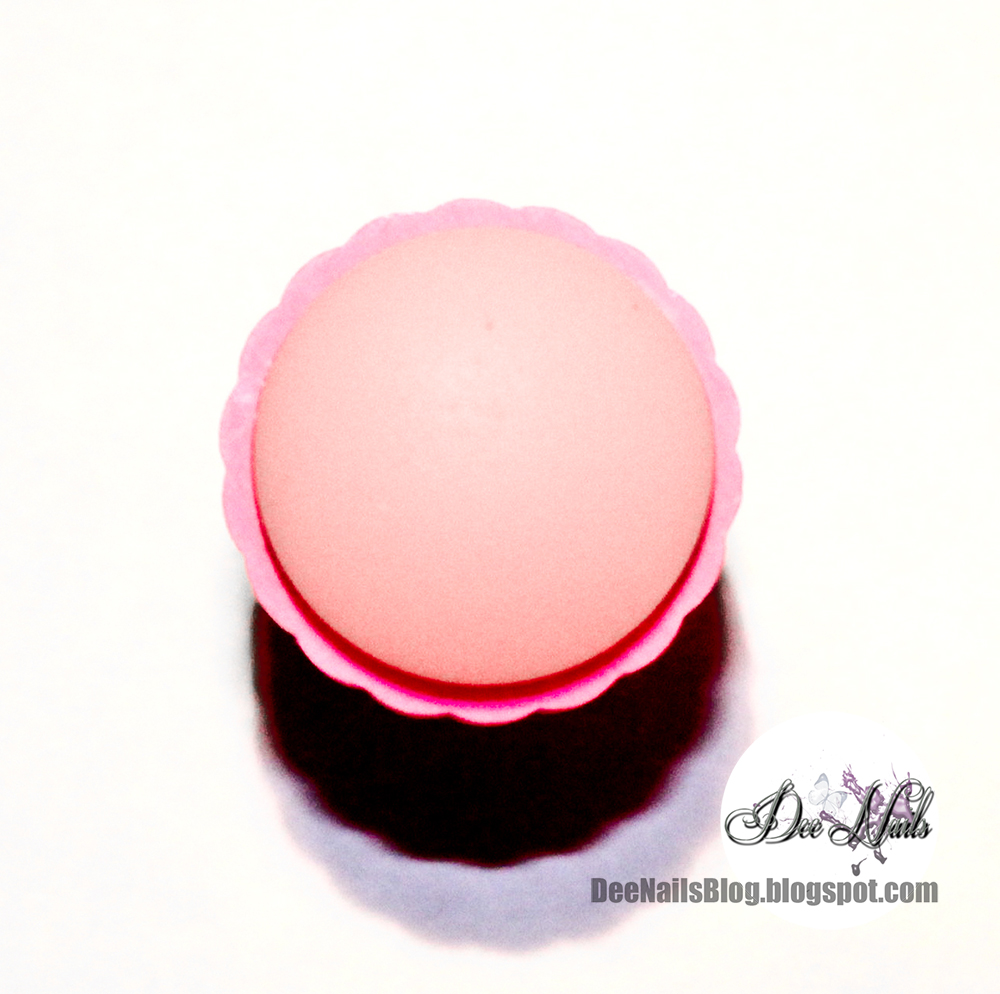
The 3rd stamper that I got in the pack is the all well known pink stamper that I dare to call "traditional" that you can find >here<. It's made out of rubber and it's pretty small compared to the other ones. I was blown away how crisp the pattern came out. It picks up even the finest line of the lace design. I never thought I would like it so much. Because of this I used it for a design below. I wish they had a bigger one, I'll have to look for one, because this one is very small.


Pros: Picks up the pattern extremely well

Cons: Very small. Could not fully stamp my thumbs and I have small nails.

I purchased these for reversed stamping, because I've been obsessing with it for the past months. Having a collection of stampers is great for this purpose.


You'll have to try and see for yourself what you like and what works for you, but I hope this helped a little bit.

For the following design I used the small pink stamper and black BPS stamping polish . I polished 2 layers of white polish and used a sponge to make a very soft gradient with pastel pink, orange, yellow and blue. I stamped the chevorn pattern from plate QA91. I sealed with top coat and added some round gold studs that you can find >here<. A super easy 10 minutes manicure.


I hope you enjoyed this post and you found it useful. If you want any of the products presented above you can use the code below for a 10% discount and free shipping with no minimum order.


Saturday, July 18, 2015

Vintage floral nail art


Hello everyone!

Took a while to get back to my little blog but I have a really cute floral design to show you. It's very summery and I made it special for an official appointment I'm going to have, that requires a little bit of class. Anyway, it's very decent, with just a little bit of bling. I can;t get out without my nails done and I never wear just polish.

For this design I used some decals from www.bornprettystore.com . I normally don't have my nails done with decals, except when I'm in a rush, but these fit perfectly to what I had in mind and it couldn't have looked better if I painted them on.

I used 2 different sheets for my accent nails and the rest of my nails.

I started by applying 2 coats of WNW wild shine "Yo soy" . I absolutely love this nude polish. It's currently my favorite shade of nude I own and I found it for just $0.99 at CVS.


I applied the floral decals on 8 of my nails by soaking them for half a minute and using tweezers to apply them. They glide on the nail while wet so when you have them where you want them just dab them with a piece of toilet paper or tissue so pull the water out..

You can find these decals >here< for $2.86.


I used another type of decal for my accent nails, the pretty frames that you can find >here<

I sealed all my nails with 1 thin layer of top coat and I applied some rhinestones in the picture frame for a little glitz. I used 2 different types of rhinestones that you can find >here< and >here<.


For the final step I coated all my nails with a matte top coat to give some sort of pottery effect to the nails.

I absolutely love them. They were really easy to do and I think this design fits the almond shaped nails perfectly. As a bonus, here's a photo of the struggles of bloggers with pets that I think you will enjoy :)


If you want any of the mentioned products you can use the code below for a 10% discount and free shipping.


Sunday, June 28, 2015

Elegant black and white manicure


Hello everyone!

Today I had to share this pretty mani I wore recently. It's wedding season, and girls usually like elegant nails when going to a reception. I thought this was very appropriate themed to share for this time of the year.

I personally love black and white nail art because it strikes even without sparkles and glitters. If they're easy to make, they have a plus.

For this particular manicure I coated my nails with 2 layers of white polish from Sally Hansen.

Using plain old tape, I divided my nails in half and painted half of them black. I went oposite directions on each nail, top black on one, then bottom black on the other and so on.


I used the same black polish to stamp a pattern from plate BPL-005 . I had a review on this plate earlier this year if you want it >here<. The pattern I used was an abstract one and I used the same black color polish. Since it wasnt stamping polish it's a little rough looking for my taste it didn't come out as crisp as I normally like it.


For my accent nail I used some irridescent white half pearls from the box reviewd in my last post. You can find the box of goodies >here<.. The pearls I used were from the container with number 11. They're really pretty, pretty big I think they're 3 or 4mm I honestly didn't measure them.


On each side of the pearl I placed a 1.5mm rhinestone for just a little bit of sparkle. I used the wheel with rhinestones that I use so often that you can find >here< 

All the embelishments I set them in clear top coat and did not seal them. The pearls can be reused if you treat them carefully and don;t set them on dark colors so they dont get stained.


It's a very easy to do manicure. If you already know how to use the tape, it will take about 10-15 minutes, without the drying time. It's not "too much" but looks very classy.

I hope you like it and if you want to get any of the products I used from www.bornprettystore.com , you can use the code below for a 10% site wide discount with no minimum order and free shipping.


Friday, June 12, 2015

Purple and gold lace nail art


Hello everyone!

Wish everyone a great coming weekend. What's better than start the weekend than a glam manicure.

I received this pretty box of goodies. Took me some time to decide on what I want to use first from the box and I'll definately have to post more manis with everything in there.

The box is from bornprettystore.com . You can find it >here< for $7.73 normal price but right now it's discounted.


It has 12 compartiments all with different nail art decorations. The ammount varies depending on the size of the decorations. There are hoops, crystals, beads, marble looking decorations, studs. they're all very pretty.

The ones I decided to use today are the ones from compartiment 10, that contains 5-6 pieces of round multifaceted rhinestones. They're about 4mm diameter and super sparkly.


For today's manicure I opted for a mix of bling and lace, using a base of purple glitter a shimmery gold polish for my accent nails. The polishes I used are:


Even though The gold polish I used is actually for stamping, I loved the way it became opaque in just one coat so I used that instead of a glitter gold polish.


I coated my nails with one layer of Kleancolor pastel purple to give more opacity to the glitter. I then painted 1 layer of purple glitter by Spoiled. The polish is gorgeous with gold reflexes that match the gold accent nail so pretty.


I stamped all my nails but my accent nails, with a floral lace pattern from BP-02 that you can find >here< for $2.99.

On my accent nails I stampped another pattern from the same plate, in the center of the nail.


The big crystals from the box were placed on the middle of the lace pattern on the accent nails and I added 1.5mm rhinestones that you can find >here<. I set all of them in regular top coat.

Overall this manicure is super easy to make. It doesn't take long at all, especially if you already have some experience with stamping. It took me around 2 minutes to stamp all my nails, and few more minutes to set the rhinestones.


It's a very effective nail art  in royal colors. I absolutely love it. The big rhinestones can be reused as long as you don't put any top coat over it. The big flat surface will be enough to make it stay.

I hope you like it and if you want the box of goodies or any other product I used from BPS you can use the code below for 10% discount and free shipping at check out.