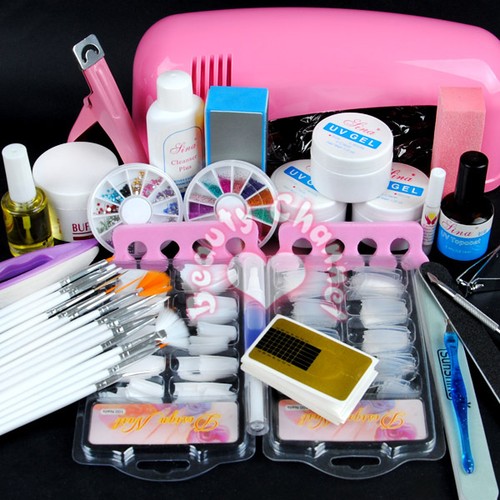
Sunday, March 24, 2013

3D Gothic design-Blood Roses

I shouldn't be doing anything to my nails right now, because unfortunatelly i fissured one. It hurt terrible for about 3 days but i cant stand walking around in my bare nails haha. So today, with all the pain and everything i started working on a new design. Its still a little rough but for first time and for no practice on a nail stick i think it came out pretty damn good. I have to mention that i have artificial nails on: tips + gel overlay. I don't recommend using polish on acrylic nails because they will get damaged. Gel nails are very good with nail polish overall after changing the design on them multiple times. Here's the step by step description of how i done it, and it's pretty easy, but time consuming.


What you need:
-base coat
-black nailpolish
-deep red glitter (powder or hexagon)
-medium hard brush (the ones for eyeshadow are fine)
-thick topcoat
-red acrylic powder
-acrylic liquid
-nail glue


First of all prepare your nails for applying the base coat, no matter if you're doing it on artificial or natural nails. Buff them slightly with a buffer block or with a soft file to take off any impurities you could have on the nail.

Chose a nice basecoat and apply one layer on all your nails. I use Diamond hard from KISS

Get your black nail polish and apply it on all nails. Make it as black as you can. If you need, put on 2 layers.


The nail has to be completely dry before going to the next step.


After the black nail polish is completely dry, get your glitter and brush. I used hexagonal glitter for this design. First apply a thin layer of topcoat on the tip of the nail. Put a tiny drop on the brush so you can pick the glitter up, dip the tip of the brush in glitter and start applying it over the wet topcoat. Dont make it too bulcky because it will fall off and try to apply it as uniform as possible. After that apply a little topcoat over the tip and let it sit for about 10 minutes. When the topcoat is almost dry, gently push on it with your finger to set the glitter smooth in place.

 You can then apply a thicker topcoat on the whole nail.

I use Sally Hansen, Hard as nails topcoat.

The fun begins here. This is the most time consuming part, the making of the roses. You can use a mold or the free hand at your choice. For this, i used a mold because i needed 10 roses. If you prefer only few of them you can do it free hand. I wont make a tutorial about how to do it, because I'm learning it online as well, but i have some that might help you. Its really easy

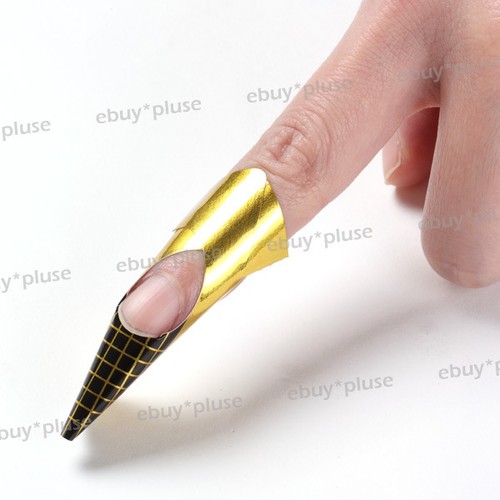
-how to use a mold -from one of my favorite nail artists Raquel: http://www.youtube.com/watch?v=SBLDcJ9L4qQ
- how to do a rose free hand- http://www.youtube.com/watch?v=dgQD_R_VBrw

If you're using a mold pull the roses out of the mold when they are almost dry. Dont let them harden or you wont be able to shape them to your nail's curve. To apply them, simply put a tiny drop of nail glue on the surface of your nail and apply the rose.

 Optionally, if the color of your roses is too dull, brush a little topcoat over them to enhance the color and add a little shine to them.

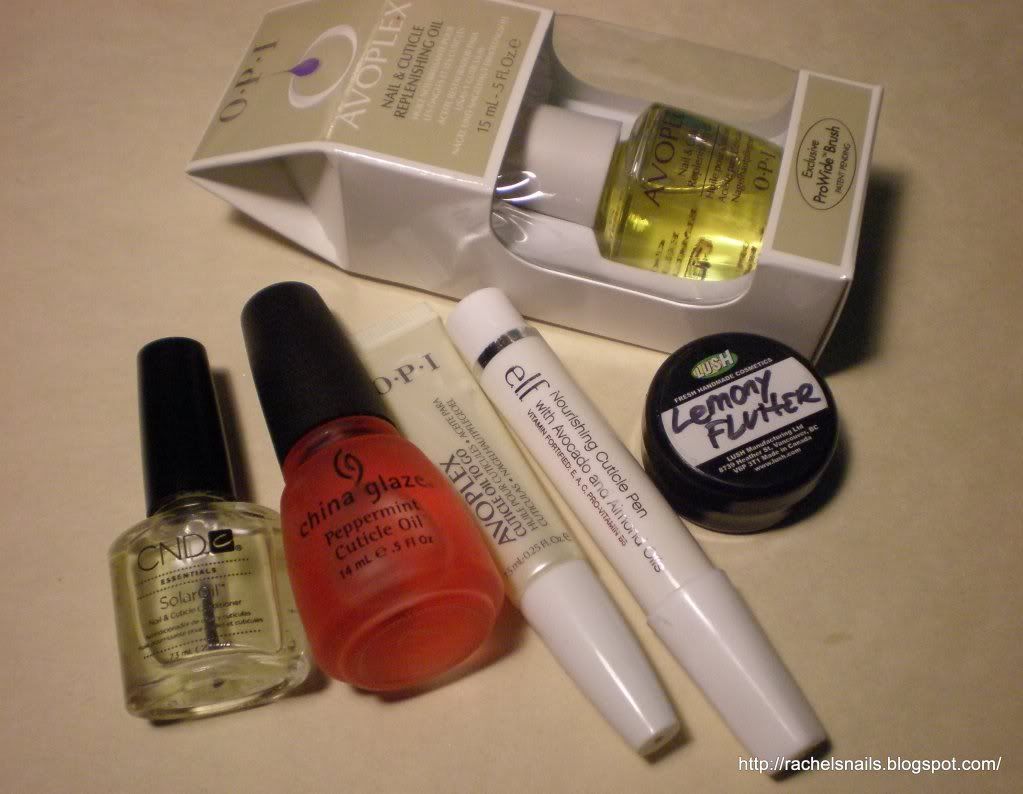
Don't forget to add cuticle oil to keep your nails healthy after every nail design.

And you're done! :D


DeeNails has a brand new facebook page. Like and share it please. It would mean a lot to me <3
https://www.facebook.com/deenails0

Thursday, March 21, 2013

My dear cuticle oil

Even though i'm taking care of my nails since i was about 10 years old, it took me 10 more years to discover and learn to appreciate this elixir of longevity for nails called cuticle oil. Don't get me wrong, it will not make your nails grow 1 inch every week, but its importance is more than just making your hands look fabulous.

Many people are very complexed by the appearance of their hands. The rough dry skin around nails and on fingers can create a bad impression. Depending on our jobs, having our hands look impecable is very important.

Cuticle oil has a simple composition, usually a mix of different oils and vitamines, each with their unique properties. It comes in tiny bottles or pens available from different brands and usually can be found at any drug store that offers cosmetic supplies. Big brand ones and the ones with a dropper that you find in pharmacies can be a little pricey indeed, a little more than a big brand nail polish. They vary between $5 and $13. You always have to look at the ingridients on the product that you want to purchase and make sure it covers all your needs in matter of nails and hands care.
I personally do not use big brand cuticle oil. I was curious in trying different ones, but I am very satisfied with my little scented pens that I wouldn't trade them for anything. The ones i'm using come in a big variety of scents like rose, lily, cherry, lavander, lemon, orange, etc. They are usually sold as fake O.P.I., which beware , they are not genuine for those of you who are fans of the brand. Mine don't have the fake name on them, they are just cuticle revitalizer. If you'd like to spend some extra for opi thats a great choice too. I get my oils for about $5 a pack of 5, my choices of scent. The scents are not very strong but they make your hands feel amazing. The ingridients in my oils are grapeseed oil, aminio acids, natural keratin, organic calcium, safflower oil, vitamin A, vitamin D, vitamin b5, silk procaine, natural panphenol, thymol, methyl glucose ether. It doesn't stain, is of medium thickness and it gets absorbed by the skin pretty fast. Your hands will be oily and shinny for a very short period of time.


There are many reasons why everyone concerned in the appearance and feel of their hands should use cuticle oil. In the long term it will make your nails grow faster and healthier indeed, but there are other on the spot benefits.
1. The skin around your nails and on your fingers will get instantly moisturized. If you have dry white skin all over like i do, it will dissapear instantly when you use it. From rough and white it will turn very soft and get a uniform color like the rest of your skin.
2. Split and painful cuticles will heal very fast and the ingridients in the cuticle oil will give you an instant pain relief for your nails. For that purpose, if the skin under your nail hurts, you can apply it under your nail as well for fast pain relief.
3. Cuticle oil has antibacterial purpose as well. You will avoid or heal cuticle infections that cause pain , swelling and redness around your nails.
4. Cuticle oil isn't just for hands. It works the same and it's recommended to use them for your feet as well!!

If you don't afford cuticle oil, you can always improvise by using an ingridient that should be part of every kitchen: olive oil. Just drop a little on your finger and then slowly massage it on your cuticle and areas that look dry or need extra care. Jojoba oil and avocado oil do the trick as well.

Remember, after applying any mosturizing product on your cuticles, do not wash your hands for at least one hour. Let it do its work first!

Hope this helped a little if you are undecided about using this wonderful product.

DeeNails has a brand new facebook page. Like and share it please. It would mean a lot to me <3
https://www.facebook.com/deenails0

Easy way to start

   First of all, i'm definately not a professional in nail art or anything like that. I started this just a while ago because I was bored and my other crafting hobbies were starting not to satisfy me as much and they should. I've always liked to polish my nails, but unfortunately they were always short. My nails are very thin naturally, they were bending and breaking without me doing any effort for it whatsoever. In highschool I was always jealous on my friends who were having their nails done at professionals. That's how I came in contact with gel and acrylic nails. I didn't afford anything like that back then, but after i moved to USA i started thinking more and more to get my nails extended. After looking at the prices i came to the conclusion that i'll definately come out cheaper by learning how to do it myself. Not being a professional i didn't even think about getting those pricey big brand gels ($45 for a 0.5oz container) so i went for the ebay cheapies instead, which turned out to be better than i thought.
   
   I looked all over the internet to see what tools i would need in orders to do it myself and i bought everything on ebay for maximum of $100, which would be me getting my nails done at a nail salon 2 times or not even that. While i was waitting for my items to be shipped, i watched all the videos i could find on youtube about how to put on gel nails and i had everything in my head. Even like that, first time i did it it was horrible and got so frustrated. My nails just lifted and popped off in 1 day, having to replace them 2-3 times, one nail at at a time, until i got to see for myself what i was doing wrong. First time i put tips on and gel overlay which made my nails hurt horrible. I fixed that by setting the tips on the half nail instead of the end of the nail. They never hurt again. Also i fixed the gel lifting by coating my nail with 3 thin layers instead of 1 thin and 1 thich like i saw in the tutorial videos. I cured each thin layer for 2 minutes and 4 minutes at the end and believe it or not it worked wonders.

Now, here's a little list with things you need , and nice things that are optional. Thats what I got, that doesnt matter that you can't get big brand stuff if you want. For my buget, it was worth it.

1. UV gel and UV lamp. I got them in BIG bundle that was 36$. 
I got a 9w lamp with just 1 bulb that works great. You can get a 36w one with 4 bulbs but the cheap one done the trick for me. The gel is Sina brand, not a big brand but works great for me. If i do it right, it doesnt lift, doesnt peel and doesnt chip, it can last over a month. Its true it gets really warm first few seconds in the lamp but if you take your hand out for few seconds it's easy to handle


2.  Cleanser. Same brand, it takes the tacky layer off your nails when you're done and easy to clean the brushes with. (included in the bundle)


3. Buffer and nail sanding file. You use the buffer on your nails to smooth them after you take the excess gel off and the sanding file is used to shape your nails however you want. I recommend using the wide ones instead of the little metal ones because they work 10 times better. (included in the bundle)


4. Clippers, cuticle knife, cuticle fork and cuticle oil. The big clippers are used for the extension tips and the small one is for clipping the natural nail. Trust me, the big clippers will be a time saver if you're using tips. Cuticle knife and fork are used for removing or pushing back the cuticles, because you can't touch them while working with  gel or it will lift. You will LOVE the cuticle oil, it makes the skin around the nails so soft and healthy. I never used it before but now i'm addicted to it. (included in the bundle)
5. Nail art brushes. They are so much needed for applying the gel and for painting tiny details on the nails. Now i can do so many things i couldn't do with the brush from my nail polish bottles. (included in the bundle)
6) Extension tips. They come in a huge variety on ebay at a low price. I got 200 of them included in my bundle. 100 transparent and 100 white for french nails. I also got another separate pack of 500 white tips because that's all i use anyway. They were $4
7) Nail forms if you prefer to build the nail entirely out of gel. I had 20 included in the bundle and got other 100 for 3$. I rarely use them, i prefer using tips, but thats probably because i'm lazier when it comes about my own nails .
8) Dotting tools. I use them for fine details and picking up rhinestones. And of course they are used to create the cute dots on your nails that are impossible to make using the nail polish brush. They were $4 for a pack of 5 tools with different size at each end, and a marbling tool.
9) Acrylic powder and acrylic liquid. Used togheter are great for making 3D designs on your nails. I just started using them and they are so useful for making cute things. I also bought molds for making some shapes. The powder was 6$ for a pack of 18 colors, $5 for a set of 2 bottles of acrylic liquid (which smells really strong but should last me forever) and $10 for a pack of 30 molds each having different designs.


10) Other stuff. I searched on ebay for hours to see stuff that i would like, but which are optional. I got rhinestones, half pearls, color uv gel, stickers, A LOT of glitter. Each of those items were really cheap. I have a board on pinterest where I always share whatever i get from ebay and give links where to get them if you want them so you can always check it out here http://pinterest.com/psychoprincessx/cheap-cute-things-i-get-from-ebay/

Hope this helped if you want to start with nail art and if you're a complete noob like i am. This will be the place where i'll post my designs and reviews for new stuff that i'll be getting so feel free to stop by and look whenever. For now, enjoy my new noobish hello kitty design which will have a tutorial soon.


DeeNails has a brand new facebook page. Like and share it please. It would mean a lot to me <3
https://www.facebook.com/deenails0